 CLICK ON PICTURE TO SEE DETAILS.
This lamp shade is in my studio. Completed several years ago. I need to do a couple more so maybe this winter. Will post them when done.
 CLICK ON PICTURE TO SEE DETAILS.
 The above pocket was made from a page in a wallpaper sample book.
 I love recycling materials to make these quote book pages. The last image I place in the back of each book. Done with several stamps. On some of these books I leave it blank so I can add a personal handwritten message if giving it as a gift. This is the last of the first book series. Will post more pages in a future posting. TO SEE FURTHER DETAILS CLICK ON EACH PICTURE.
 Did this freehand. Added glaze to the white paint then did the negative technique using the eraser on a pencil. Hand painted the dots etc. Did this several years ago as a grad gift. Wishing now I that I would have taken a picture of the back - little did I know one day I would want to archive all my creativity on a blog!
 PLEASE CLICK ON IMAGE SO YOU CAN READ MY NOTES AND SEE MORE DETAILS.
 Click on image to see it larger revealing details.
 CLICK ON ABOVE PICTURE FOR DETAILS ON THIS DRESSER REDO.
 We were invited to a 50th Wedding Anniversary celebration so I just had to create a card. Yes it took some time but I'm sure they didn't get two of these! Highlighted some of the markings on the leaves with embossing powder. Used my Scor-it-Board tool to mark the horizontal line on bottom third of card. Finished off with a sheer bow. I also made the envelope from scratch. Will post that at a later date. Thanks for reading.
 The above tray is different from the one below. Notice on the one above the vintage necklace. Click on image and it should show more details of picture.
 The above is the same paper but I positioned it differently on tray. Notice the word music has been framed with a mini frame to highlight it.
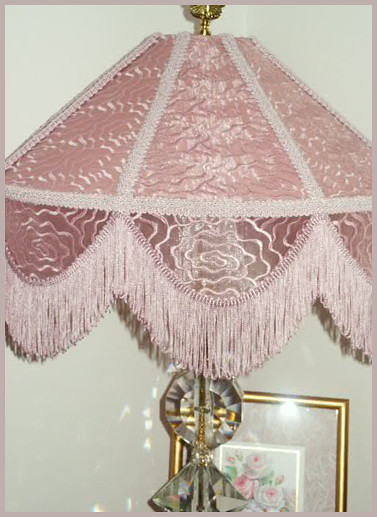 Done by hand. Custom dyed the braid, (gimp), fringe and lining to coordinate with lace. Left the "eyes" sheer. When light is on it looks very interesting. Took approximately 35 hours. Made a decorator pillow to match. Will post it at a later date.

